Table of Contents
- How Does Marble Lose Its Shine?
- Why is it important to Clean Marble Properly?
- Polishing Marble Worktops
- Step 1: Clean the surface
- Step 2: Assess the condition
- Step 3: Choose a marble polish
- Step 4: Test in a small area
- Step 5: Apply the marble polish
- Step 6: Buff the marble
- Step 7: Clean and remove residue
- Step 8: Dry and admire the shine
- Removing Stains from Marble Worktops
- Sealing Marble Surfaces
- How to Seal in 4 Simple Steps:
- How to Polish Marble Conclusion
How to Polish Marble

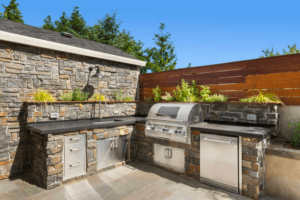
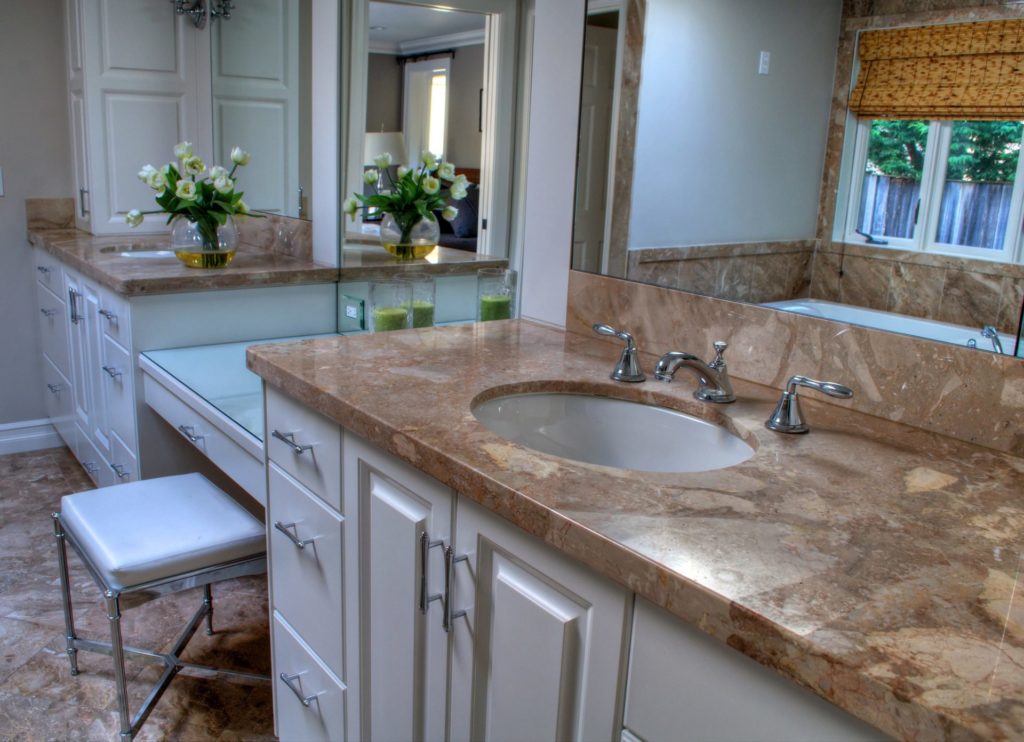
Marble is a beautiful material, it brings sophistication and elegance to any home and will never go out of style. No matter the look of your home there’s a colour of marble that will fit perfectly, be it white, black or even pink. Marble is a great material to choose for kitchens, bathrooms, walls, stairs and fireplaces around the home because it is bright, smooth and will open any room. It’s also recognised as the highest quality surface for a worktop and is as popular now as ever but marble does require a certain level of maintenance to keep it sparkling. Our experts run you through how to polish marble surfaces below, for additional help and advice, contact our friendly team.
How Does Marble Lose Its Shine?
Marble can lose its shine due to various factors, including natural wear and tear, improper cleaning methods, and the accumulation of dirt and grime. Over time, foot traffic, furniture movement, and other activities can cause microscopic scratches on the marble surface. These scratches can diffuse light and give the appearance of a dull finish. Etching can also occur causing marble to lose its shine. Marble is a calcium-based stone, which makes it susceptible to etching when it comes into contact with acidic substances like lemon juice, vinegar, or certain cleaning products. The etching appears as a dull, lighter-coloured spot on the marble surface.
It’s important to also note that excessive moisture or water exposure can also cause the marble to lose its shine. Water can seep into the porous surface of the marble, leading to discolouration or the formation of mineral deposits.
Before attempting to restore your stone, it is vital to identify exactly why your marble has lost its lustre. Homeowners frequently mistake etching for a standard stain, but they are entirely different issues:
-
Chemical Etching: Because marble is a calcium-based stone, it reacts instantly upon contact with everyday acids like lemon juice, vinegar, wine, and harsh supermarket cleaners. This chemical reaction physically dissolves the top layer of the stone, leaving behind a dull, pale, matte mark. Polishing compounds are specifically designed to repair light etching.
-
Deep Staining: Staining occurs when dark liquids (such as coffee, oil, or beetroot juice) soak deep down into the marble’s porous structure. Polishing the surface will not remove a stain; instead, a targeted chemical poultice paste must be applied first to lift the pigment out of the stone before any polishing takes place.
Why is it important to Clean Marble Properly?
Another factor to consider for marble to lose its shine is improper cleaning methods. Using abrasive cleaners, acidic solutions, or rough scrubbing pads on marble can wear away the polished surface and cause it to lose its shine. It’s important to use pH-neutral cleaners specifically designed for marble to avoid damage. Over time, dirt, dust, and other particles can accumulate on the marble surface, making it appear dull. However, regular cleaning and maintenance help prevent the buildup of these substances.
Polishing Marble Worktops
Polishing marble countertops can help restore its shine and enhance its appearance. Here’s a step-by-step guide on how to polish marble:
Step 1: Clean the surface
Before polishing, ensure that the marble surface is clean and free of dust, dirt, and any stains. Cleaning marble requires some special care to ensure that you don’t damage or stain the surface. You’ll need a soft cloth or sponge, a pH-neutral cleaner specifically designed for marble, warm water, and a dry, clean cloth for drying.
Start by removing any loose dirt or dust from the marble surface using a soft cloth or a dusting tool. Mix a small amount of the pH-neutral marble cleaner with warm water according to the instructions on the product label. Avoid using acidic or abrasive cleaners, as they can harm the marble. Before cleaning the entire marble surface, it’s recommended to test the cleaning solution in a small, inconspicuous area to ensure it doesn’t cause any discolouration or damage.
Next, you will need to dip the soft cloth or sponge into the cleaning solution, wring out excess liquid, and gently wipe the marble surface. Use light pressure and circular motions to avoid scratching the marble and pay attention to any spills or stains and give them extra attention. Make sure to avoid letting the cleaning solution sit on the surface for an extended period. Once you’ve cleaned the marble, rinse the cloth or sponge with clean water and wipe the surface to remove any residue from the cleaning solution. Use a dry, clean cloth to dry the marble surface completely. This step is essential as leaving marble wet can lead to water spots or streaks.
Step 2: Assess the condition
Examine the marble surface for any scratches, etching, or deep stains. If there are significant damages or stains, it may be best to seek professional help for restoration.
Step 3: Choose a marble polish
Select a high-quality stone polish of your choice. You can find marble polishes in the form of powders, creams, or sprays. Follow the product instructions for the recommended application method.
Step 4: Test in a small area
Before applying the marble polish to the entire surface, it’s advisable to test it in a small, inconspicuous area to ensure it doesn’t cause any discolouration or damage.
Step 5: Apply the marble polish
Depending on the type of polish you’re using, follow the product instructions for the application method. Typically, you’ll apply a small amount of polish to the marble surface and use a soft cloth or polishing pad to buff it in a circular motion. Apply the polish evenly, covering the entire area you want to polish.
Step 6: Buff the marble
Using a clean, soft cloth or a polishing pad, buff the marble surface in a circular motion. Apply gentle pressure and continue buffing until you achieve the desired shine. You may need to repeat the process for stubborn dull spots or scratches.
Step 7: Clean and remove residue
After polishing, use a clean, damp cloth to remove any residue or excess polish from the surface. Ensure that all polish is thoroughly removed, as leftover residue can cause streaks or dull spots.
Step 8: Dry and admire the shine
Allow the marble surface to dry completely. Once dry, you can finally admire the restored shine of your marble.
Removing Stains from Marble Worktops
To prevent staining, immediately wipe off any spills on marble countertops. Acidic or oily substances pose the highest risk, so clean them off promptly. In case of accidental staining, use a poultice at least 24 hours before polishing to remove trapped stains. Test a small spot before treating larger areas as a precaution.
Sealing Marble Surfaces
Once your marble’s pristine gloss has been restored, applying a high-quality impregnating sealer is essential to guard against future stains. While common online myths suggest sealing your stone every few months, doing so will cause an unattractive, sticky layer of chemical build-up.
For standard residential kitchens and bathrooms, sealing your marble once every 12 to 24 months is ideal.
To test if your worktop requires re-sealing, try the Water Drop Test: place a few droplets of water onto the stone and leave them for 10 minutes. If the water beads tightly on the surface, your sealer is intact. If the stone darkens and absorbs the water, it is time to apply a fresh protective coat.
How to Seal in 4 Simple Steps:
- Prep: Ensure the marble is flawlessly clean, completely dry, and entirely free of leftover polishing residues.
- Apply: Pour a premium impregnating stone sealer onto a clean, lint-free microfibre cloth and wipe it evenly across the slab.
- Absorb: Allow the liquid sealer to penetrate the pores of the stone for roughly 10 to 15 minutes (do not allow it to dry completely on the surface).
- Buff: Take a fresh, dry microfibre cloth and vigorously buff away any excess sealer left on the surface. Allow the stone to cure undisturbed overnight.
Unsure which sealant or polishing cream is safe for your specific marble variety?
How to Polish Marble Conclusion
To maintain the shine of your marble, it’s essential to take proper care of it. Avoid using abrasive or acidic cleaners, promptly clean up spills, use coasters or mats to protect the surface from potential damage, regularly clean and dry the marble to prevent dirt buildup and help preserve the beauty of your marble surfaces. If the shine has significantly diminished, professional restoration may be required to re-polish the marble surface and restore its original lustre.
Remember, polishing marble should be done periodically and as needed. Excessive repolishing can remove the protective layer and damage the surface of the marble. It’s always a good idea to consult the manufacturer’s instructions or seek professional advice for specific marble types or if you’re unsure about the polishing process.
If you’re looking for help from a professional to refurbish or replace your existing marble surface, speak to our friendly team of experts who can talk you through your options, including design and install of new spaces. Contact our team for advice or to book a visit to our showroom.